Start Program with Windows
To start the program you have two different options:
- start everything at the same time (both frontend and backend)
- start frontend and backend seperately
You can find a step by step guide including pictures below.
Simple guide for starting everything at the same time
Open a command window and navigate into your project folder.
Execute the following:
python install.py
Your backend and frontend has been started. Now you can open http://localhost:100/ in your browser and use the frontend to run a simulation.
Note: You can find a step by step guide including pictures below.
Simple guide for starting frontend and backend seperately
Starting backend:
Open a command window and navigate into your project folder.
Execute the following:
cd backend
Execute the following:
python -m app
Your backend has been started. Now you can use the backend, for example to work with Jupyter Notebooks.
Note: You can find a step by step guide including pictures below.
Starting frontend (optional):
Open another command window and navigate into your project folder.
Execute the following:
cd frontend
Execute the following:
python -m app
Your frontend has been started. Now you can open http://localhost:100/ in your browser and use the frontend to run a simulation.
INFORMATION: If you started only the frontend and not the backend, running a simulation will not work! The frontend does not work without the backend!
Note: You can find a step by step guide including pictures below.
Starting Spider (optional):
Open another command window and navigate into your project folder.
Execute the following:
cd ladybug_spider/spider-idf-viewer/v-2020-10-09/
Execute the following:
node server.js
The Spider server has been started. Now you can open http://localhost:100/ in your browser and use the frontend to run a simulation and use the frontend functionality to visualise your idf file in the step “Room”.
Note: You can find a step by step guide including pictures below.
Start everything at the same time (with pictures)
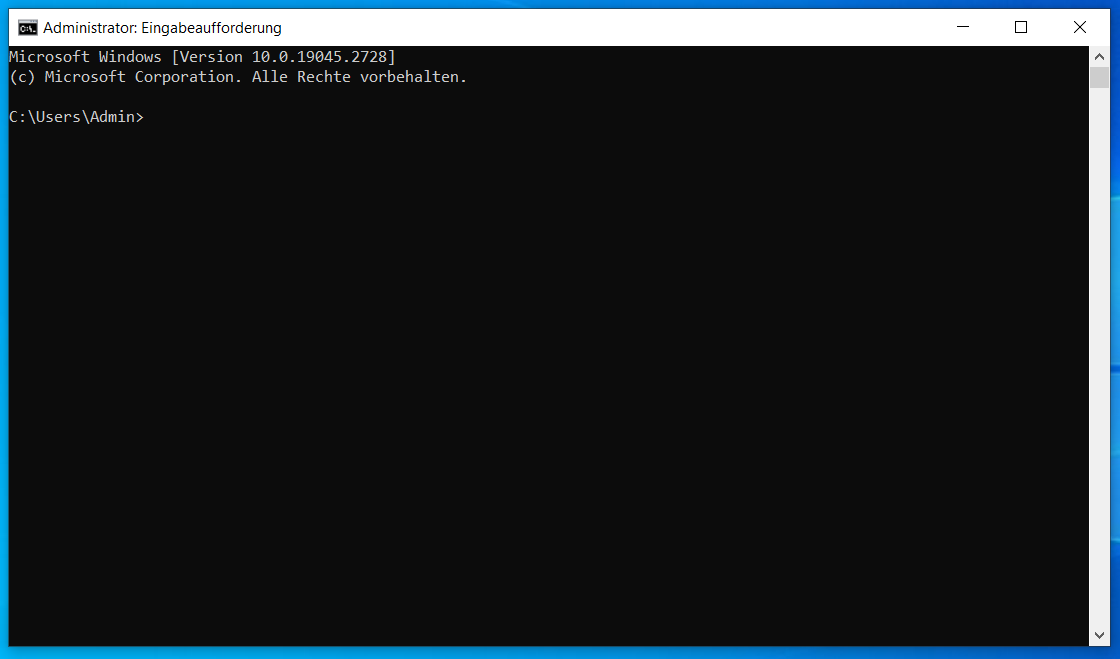
Step 1: Open a new command window.
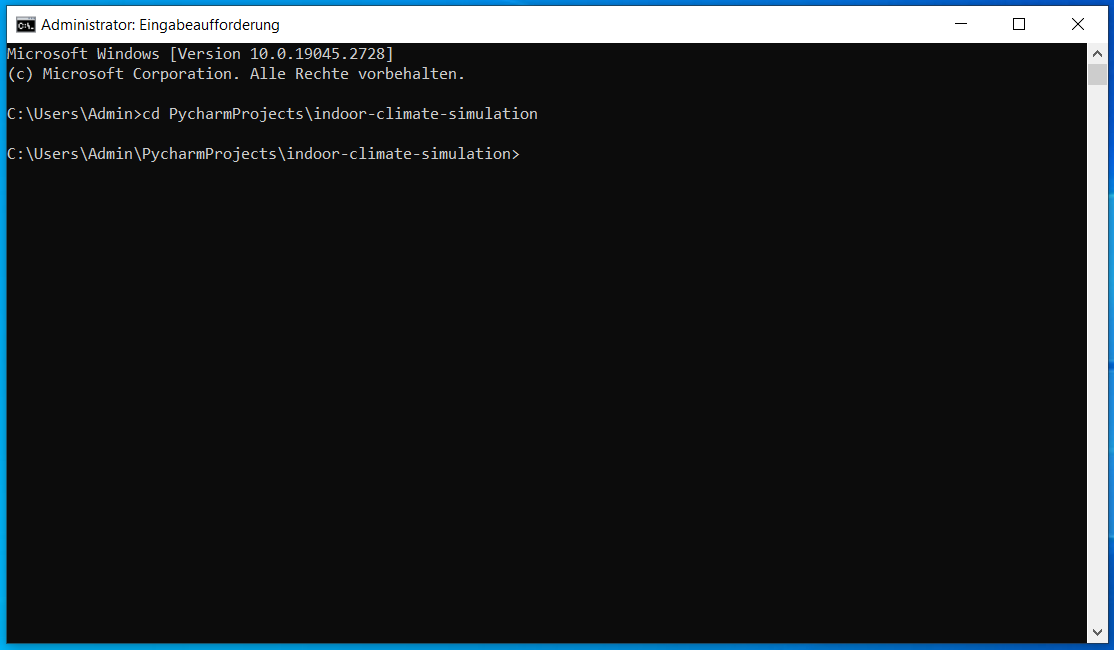
Step 2: Navigate to the project folder.
(Note: File path in the picture will differ and is only for visualisation purposes.)
Step 3: Run script install.py
Execute the following:
python install.py
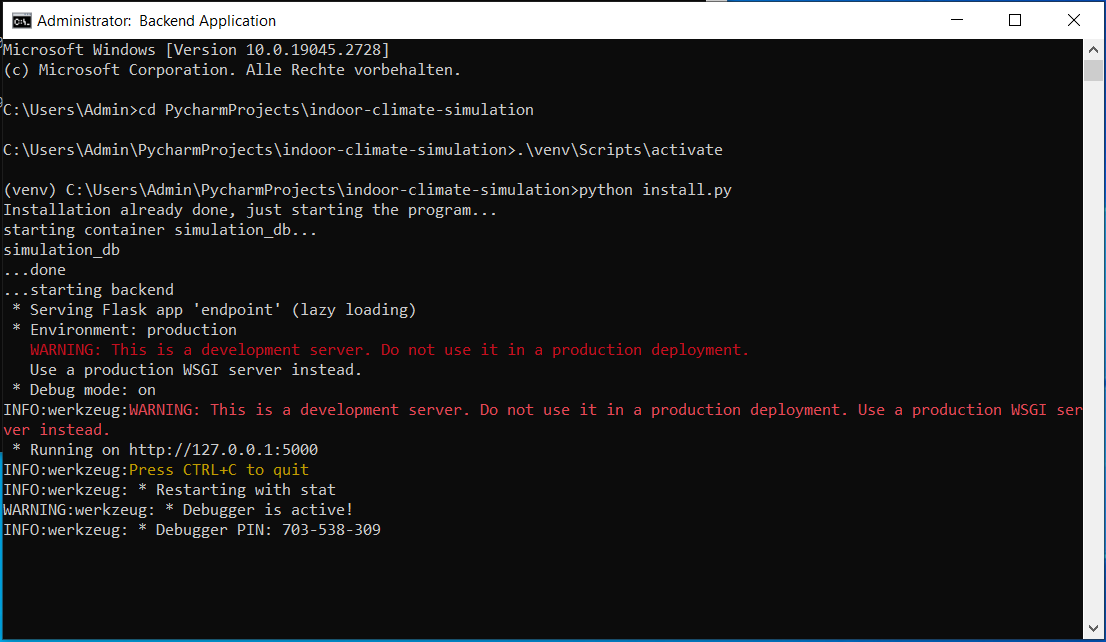
Step 4: Backend and frontend start automatically
In this step you have to do nothing. If the frontend started successfully, another command window should open automatically.
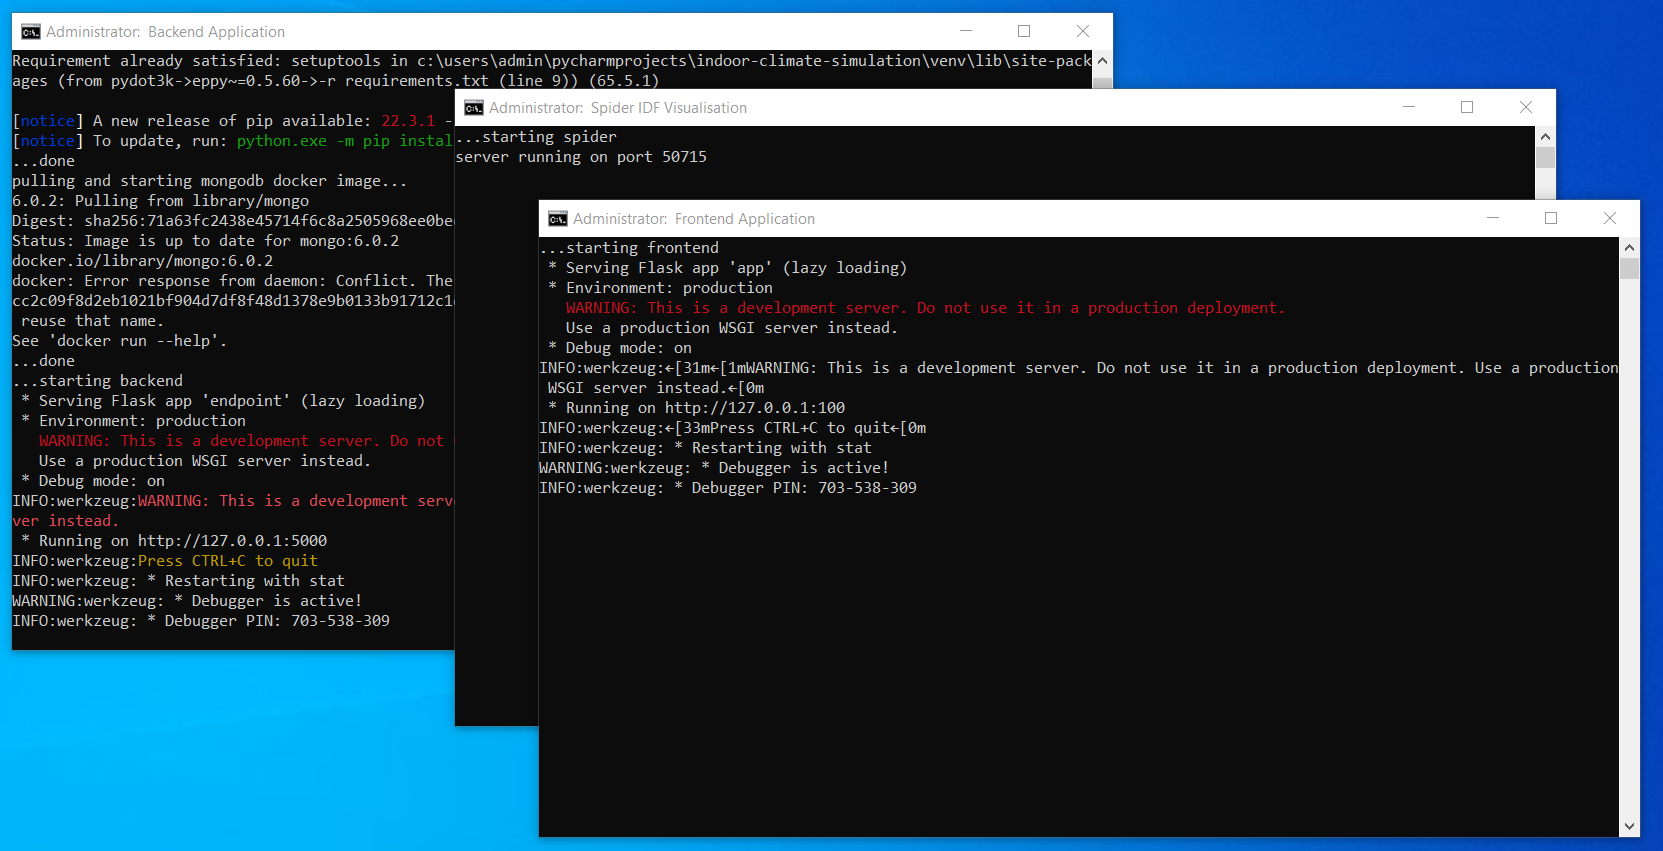
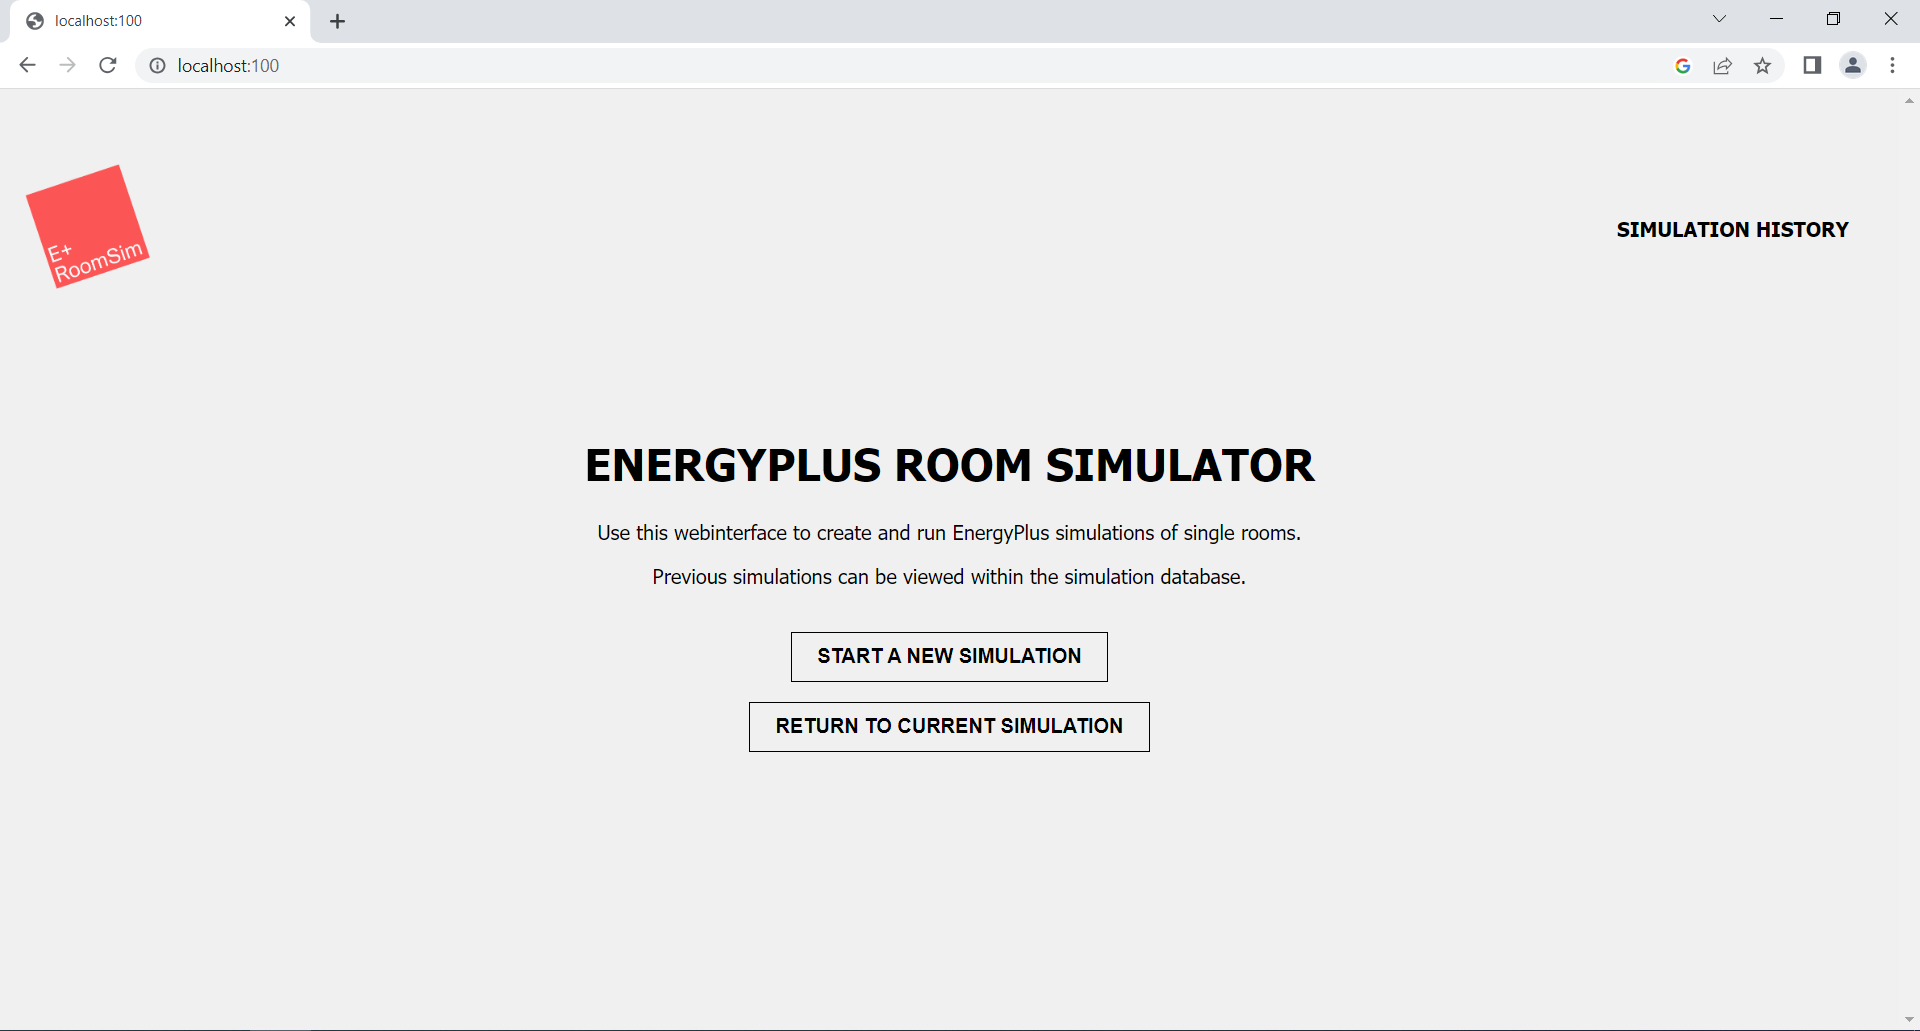
Step 5: Open http://localhost:100/ in your browser
You should see the following:
Start frontend, backend and spider seperately (with pictures)
Step 1: Open a new command window.
Step 2: Navigate to the project folder.
(Note: File path in the picture will differ and is only for visualisation purposes.)
Step 3: Start backend
Execute the following:
cd backend
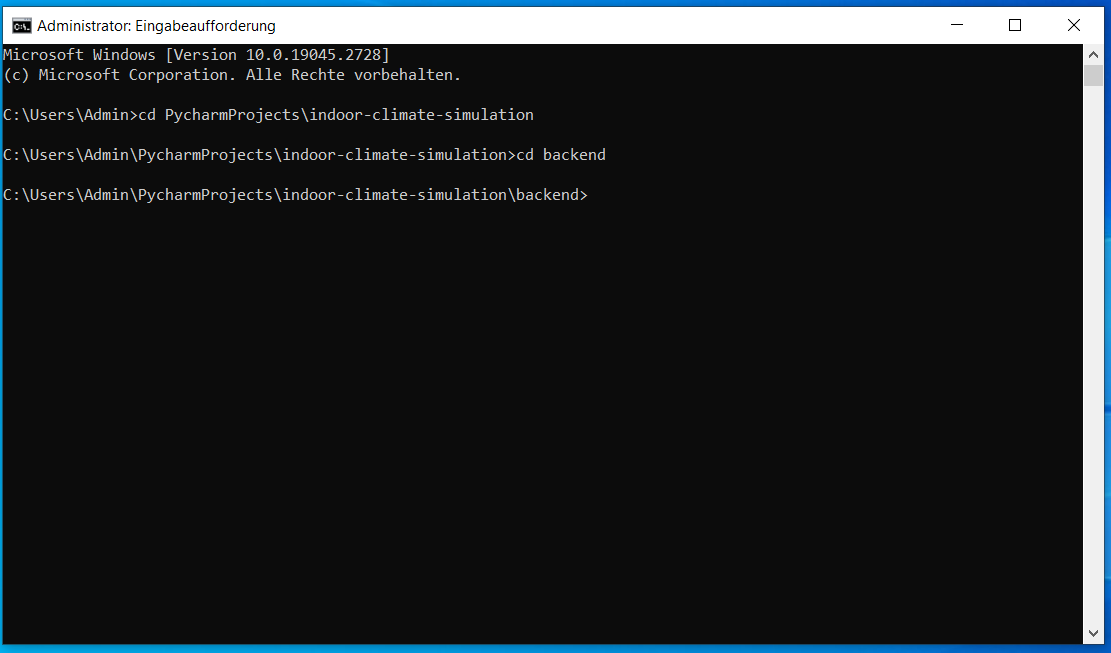
Execute the following:
python -m app
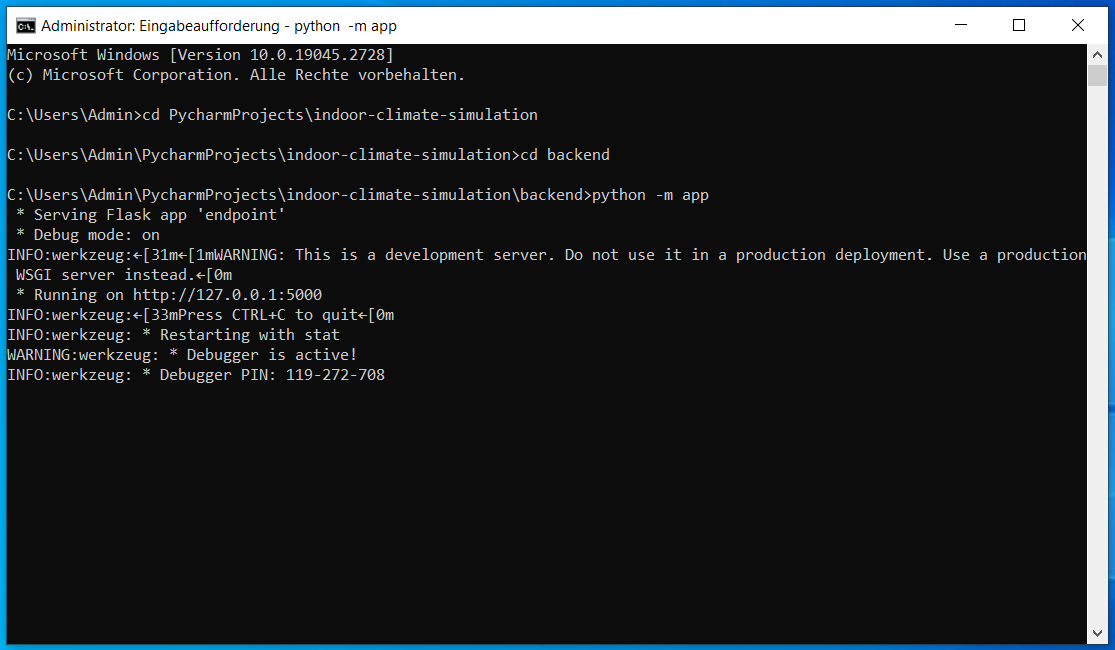
Your backend has been started. Now you can use the backend, for example to work with Jupyter Notebooks.
Step 4 (optional): Start frontend
Repeat Step 1 and 2: Open a new command window and navigate to the project folder.
Execute the following:
cd frontend
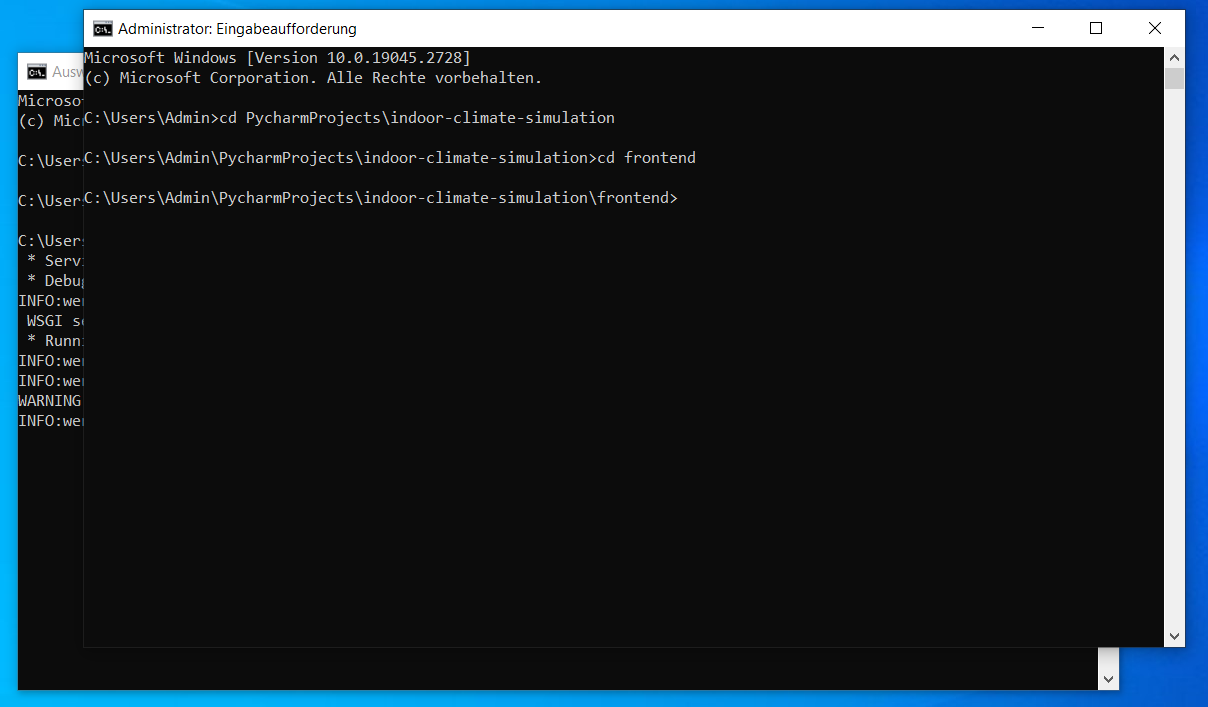
Execute the following:
python -m app
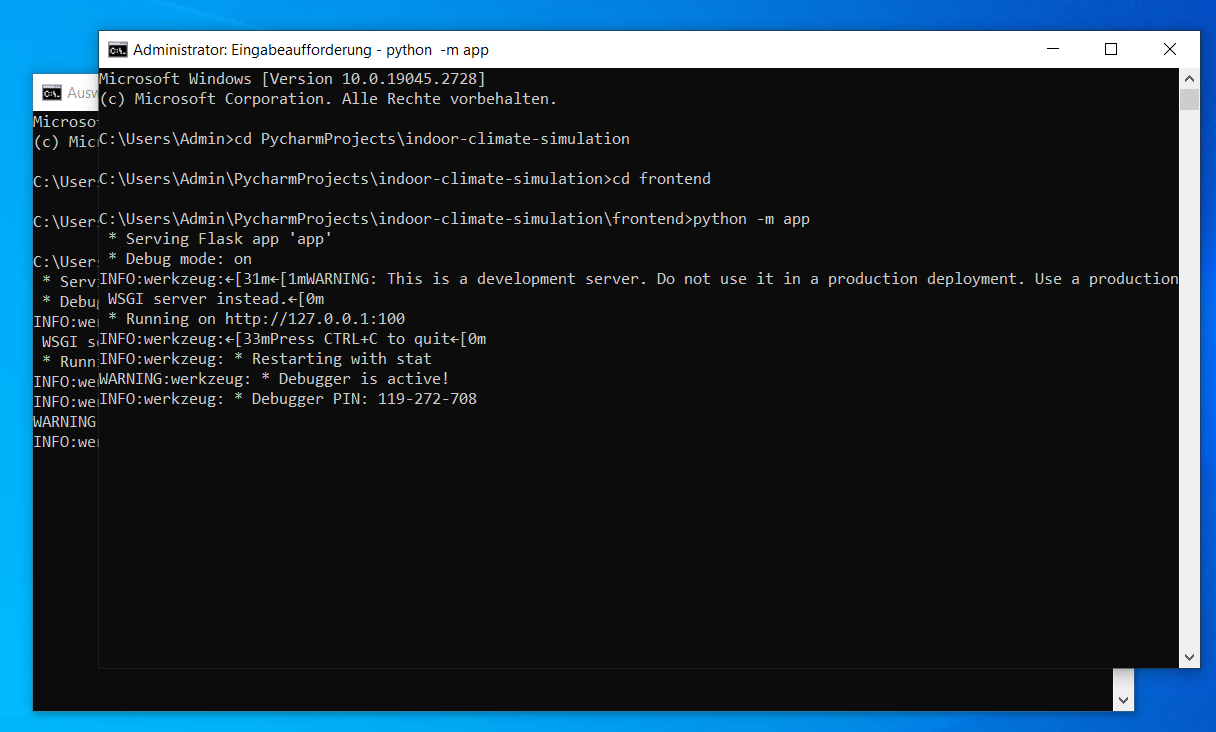
Your frontend has been started. Now you can open http://localhost:100/ in your browser and use the frontend to run a simulation.
Step 5 (optional): Start spider
Repeat Step 1 and 2: Open a new command window and navigate to the project folder.
Execute the following:
cd ladybug_spider/spider-idf-viewer/v-2020-10-09/
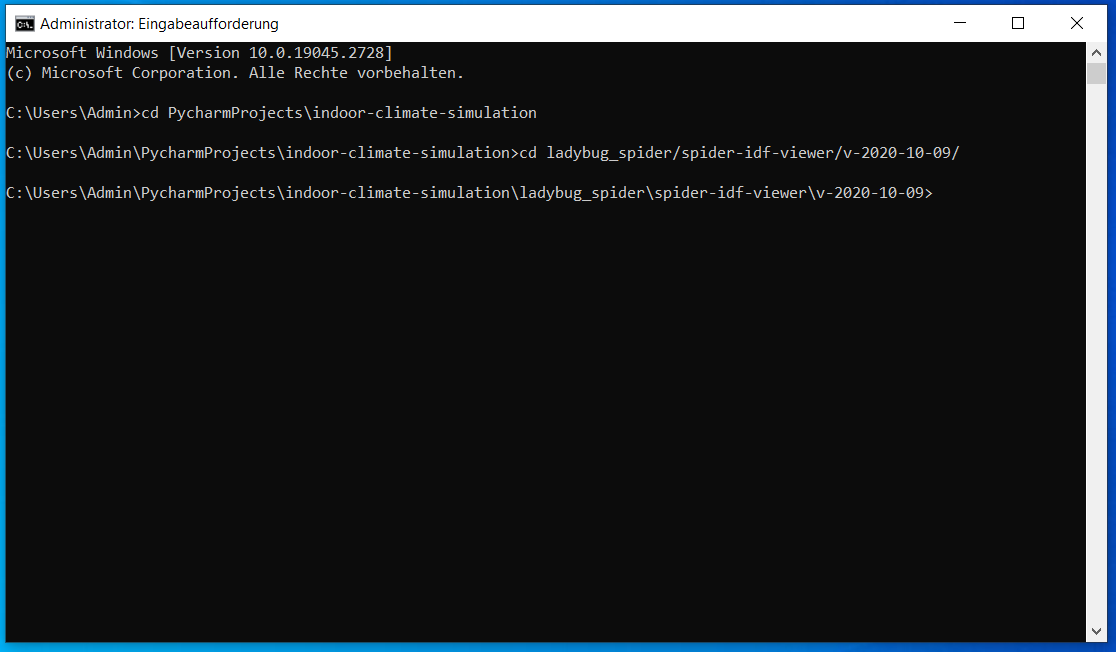
Execute the following:
node server.js
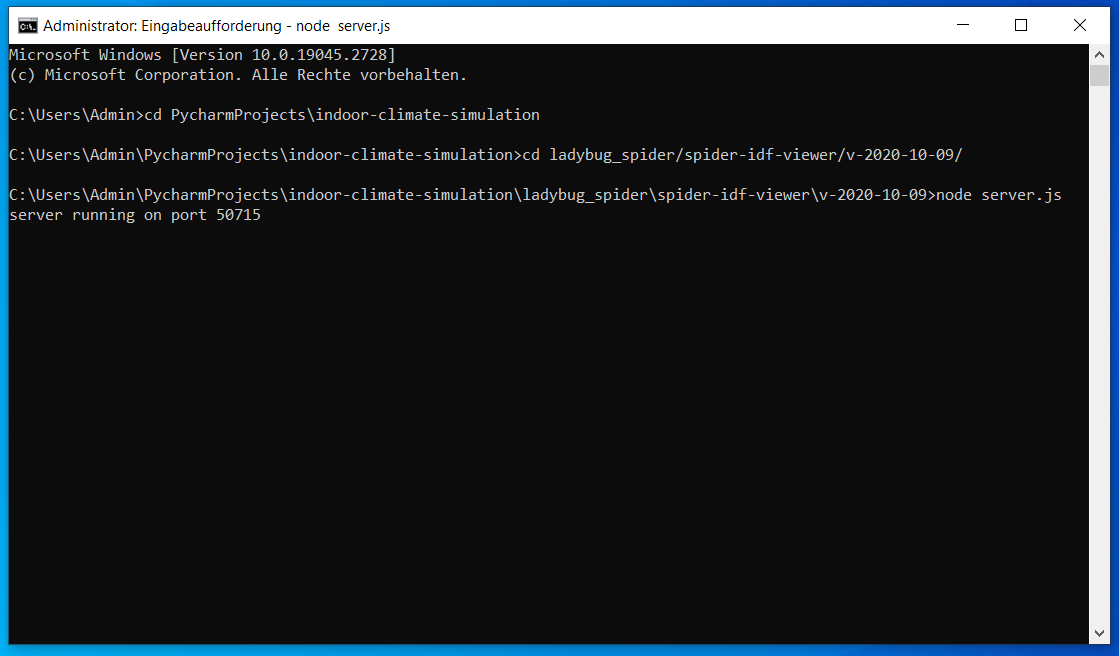
The Spider server has been started. Now you can open http://localhost:100/ in your browser and use the frontend to run a simulation and use the frontend functionality to visualise your idf file in the step “Room”.
Start Program with Linux
(Author: Diana Marjanovic)
To start the program you have two different options:
- start everything at the same time (both frontend and backend)
- start frontend and backend seperately
You can find a step by step guide including pictures below.
Simple guide for starting everything at the same time
Open a command window and navigate into your project folder.
Execute the following:
python3 install.py
Your backend and frontend has been started. Now you can open http://localhost:100/ in your browser and use the frontend to run a simulation.
Note: You can find a step by step guide including pictures below.
Simple guide for starting frontend and backend seperately
Starting backend:
Open a command window and navigate into your project folder.
Execute the following:
cd backend
Execute the following:
python3 -m app
Your backend has been started.
Note: You can find a step by step guide including pictures below.
Starting frontend (optional):
Open another command window and navigate into your project folder.
Execute the following:
cd frontend
Execute the following:
python3 -m app
Your frontend has been started. Now you can open http://localhost:100/ in your browser and use the frontend to run a simulation.
INFORMATION: If you started only the frontend and not the backend, running a simulation will not work! The frontend does not work without the backend!
Note: You can find a step by step guide including pictures below.
Start everything at the same time (with pictures)
Step 1: Open a new command window.
Step 2: Navigate to the project folder.
(Note: File path in the picture will differ and is only for visualisation purposes.)

Step 3: Run script install.py
Execute the following:
python3 install.py
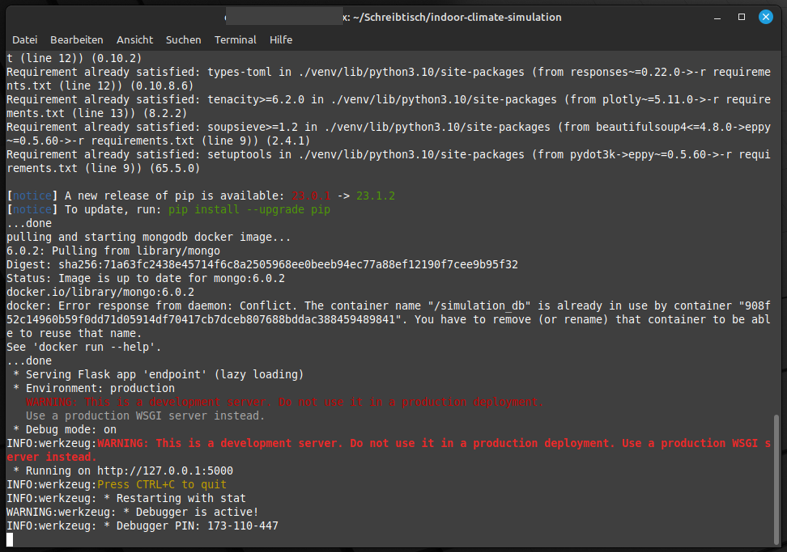
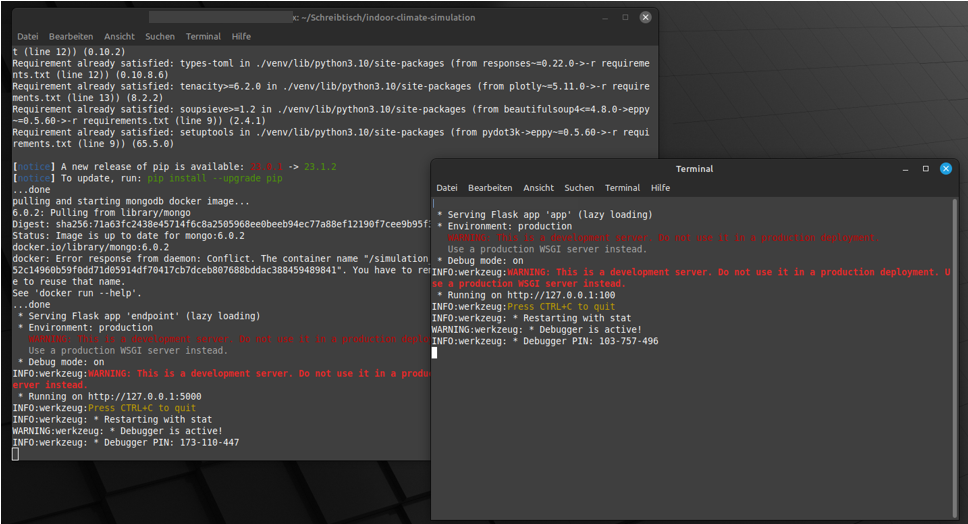
Step 4: Backend and frontend start automatically
In this step you have to do nothing. If the frontend started successfully, another command window should open automatically.
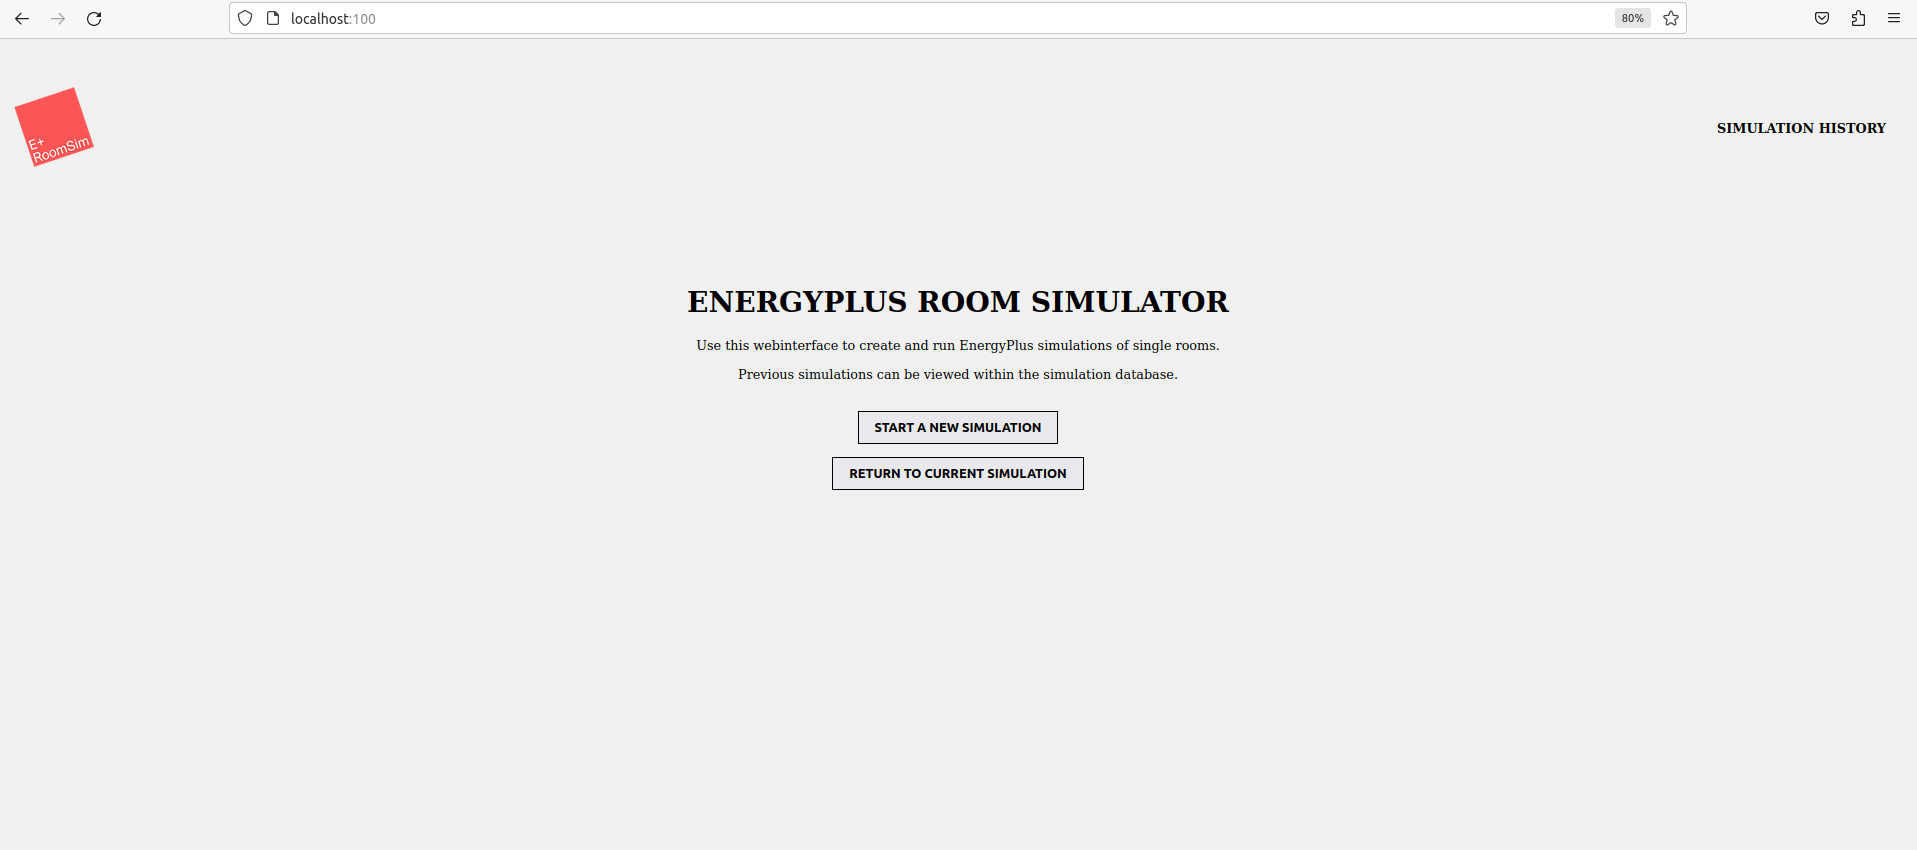
Step 5: Open http://localhost:100/ in your browser
You should see the following:
Start frontendand backend seperately (with pictures)
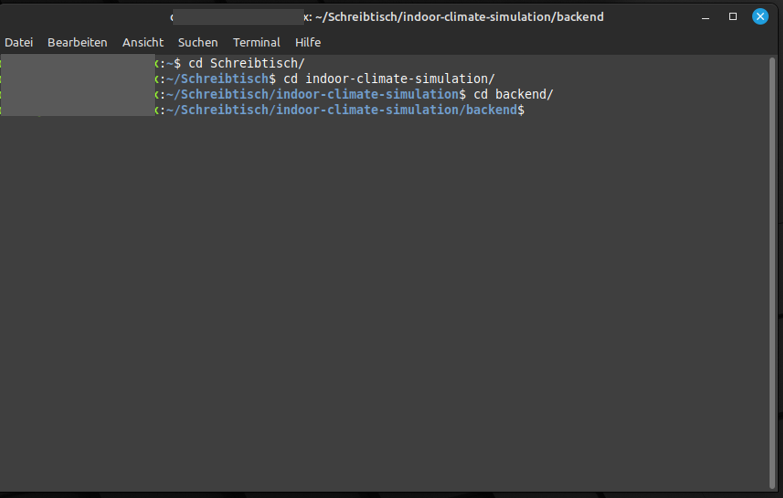
Step 1: Open a new command window.
Step 2: Navigate to the project folder.
(Note: File path in the picture will differ and is only for visualisation purposes.)
Step 3: Start backend
Execute the following:
cd backend
Execute the following:
python3 -m app

Your backend has been started.
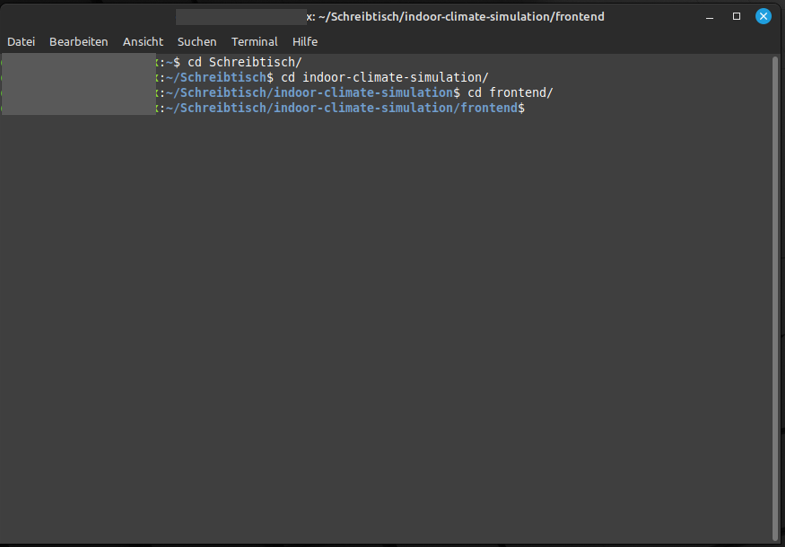
Step 4 (optional): Start frontend
Repeat Step 1 and 2: Open a new command window and navigate to the project folder.
Execute the following:
cd frontend
Execute the following:
python3 -m app
The result should be like backend!
Your frontend has been started. Now you can open http://localhost:100/ in your browser and use the frontend to run a simulation.